
Booking a first appointment for hair loss feels bigger than it is. Most people arrive nervous, unsure what the room will look like or how much the team will ask. A good hair bonding center removes that worry with a clear, unhurried process. This guide walks through a typical first visit, from the moment you prepare to the day you leave with a finished hairline, so you know what to expect and what to ask.
Before You Go: How to Prepare for a First Visit
A little preparation makes the visit smoother. Wear your usual hairstyle and avoid heavy styling products, so the team sees your hair as it normally looks. Write down your main goals, such as covering the temples, adding density at the crown or hiding thinning at the parting. Also note any scalp issues, allergies or medicines, because these affect the bonding method.
Bring one or two photos of hairstyles you like, since pictures guide the design faster than words. If your hair loss started suddenly, see a doctor first. The NHS guide to hair loss lists causes worth ruling out before you choose any solution.

What a Good Hair Bonding Center Looks Like When You Walk In
First impressions tell you a lot. A good hair bonding center feels calm, clean and private, with a consultation area where you can talk without being overheard. Natural light matters, since colour matching depends on it. Staff should greet you, explain the plan and answer questions without rushing you toward a purchase. If you search for a hair bonding center in Hyderabad, visit in person before you commit, and notice how the team treats you at the front desk as well as in the chair.
The Consultation: Questions, Scalp Check and Goals
At a hair bonding center, the consultation usually comes first. The specialist asks about your hair history, your daily routine and your goals. Then they examine your scalp under good light to check its condition and to map the thinning area. Expect questions about sport, helmets, climate and work, because lifestyle decides which bond and base suit you.
A reliable specialist also tells you honestly what bonding can and cannot do. For example, it covers thinning, but it does not stop hair loss. You should leave this stage with a clear plan, not a vague promise.
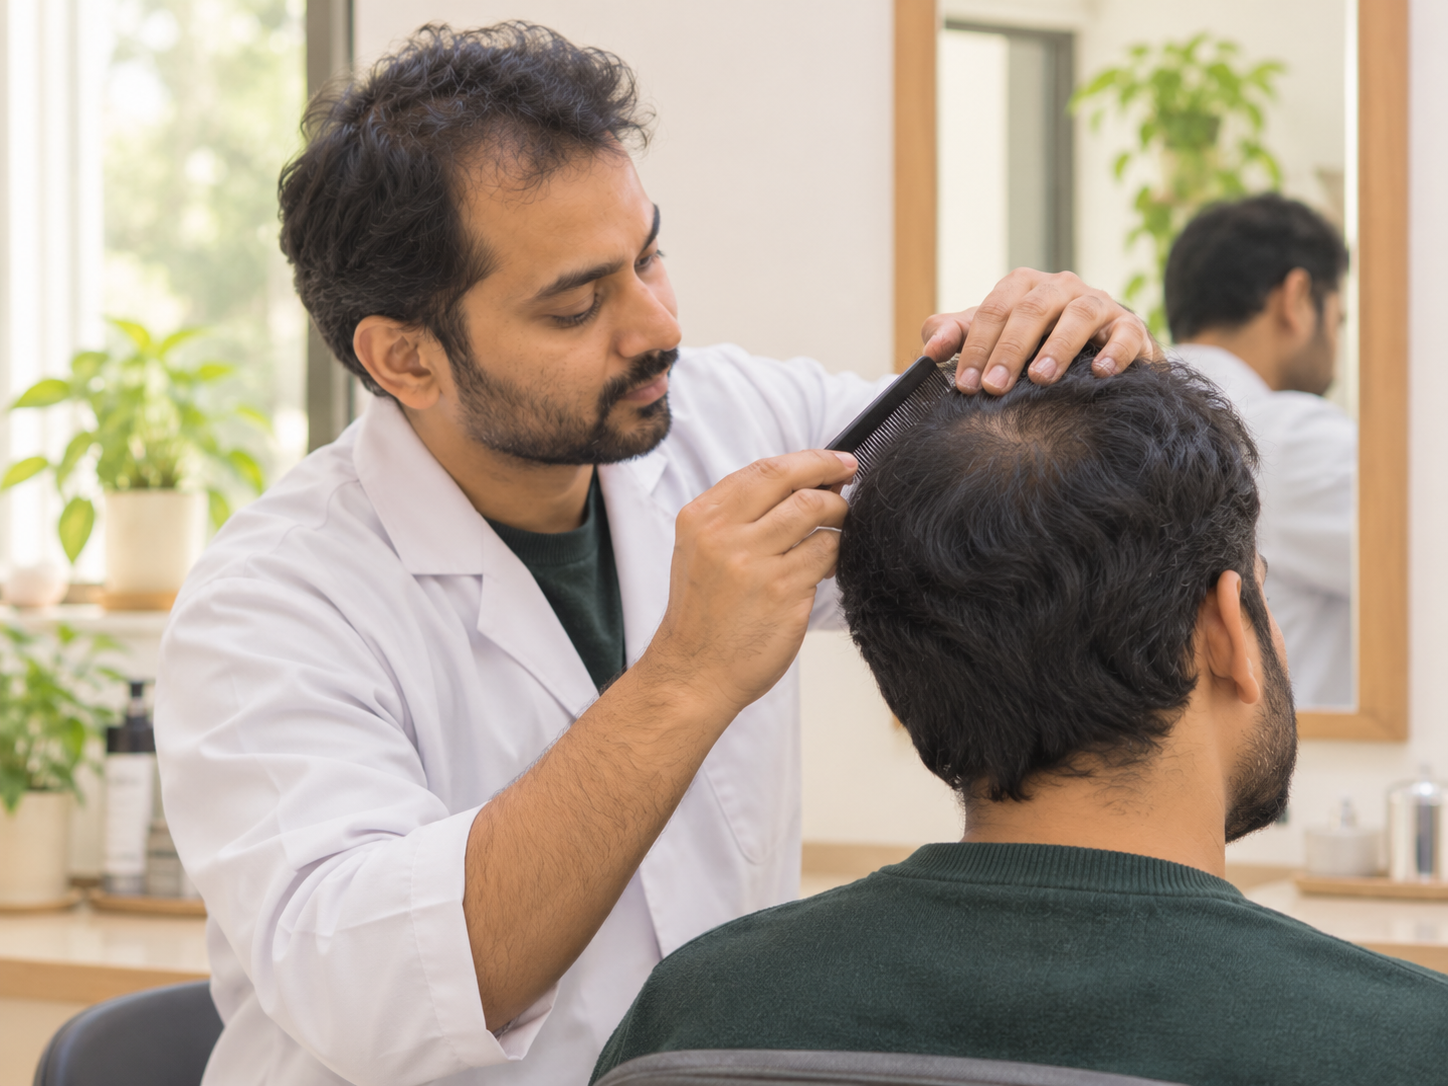
Choosing the Hair, Colour and Density at the Hair Bonding Center
Next comes the choice of hair. You pick between human and synthetic hair, and the specialist explains the trade-offs in care and cost. Colour matching follows. Natural black hair has brown and red undertones, so a flat shade looks obvious in daylight. Ask to compare samples by a window instead of under shop lights.
Density deserves equal attention. Many first-timers ask for maximum thickness, yet a very dense piece on a thinning head looks odd. Match the density to the hair around it, and keep the front sparse and soft.
Measuring and Making the Template
After you choose, the specialist measures the thinning area and often takes a template, which is a pattern of the exact shape. The template guides the size of the base and the line of the front edge. Some centers prepare the piece in advance, while others order or make it after the template. Therefore, ask whether you will leave with the piece on your first visit or return a few days later. Either approach is normal, and a short wait lets the team prepare the piece carefully.
Inside the Bonding Session at a Hair Bonding Center
The bonding session is where the piece goes on. First, the specialist cleans your scalp to remove oil and dust, because adhesive holds better on clean skin. Then they trim the hair around the thinning area if needed, position the piece and check its placement from several angles. Next, they apply medical-grade adhesive or tape along the edges or the base and press the piece into place.
You should feel pressure but no pain. If something burns or itches, tell the team at once. Many centers recommend a small skin allergy test before this step, since some scalps react to adhesive.
Cutting and Blending for the Final Look
After the piece is secure, the specialist cuts and styles it to match your own hair. This step creates the natural look. The specialist softens the front edge, blends the sides and checks the parting. Meanwhile, you should look in a mirror from the front, the side and the back, and ask for small changes.
Check the result in daylight before you leave, because indoor lights hide colour mismatches. Do not hurry this stage. A few small changes now save a lot of frustration later.
After the Session: Your First 48 Hours
The first two days need a little care. Avoid long hot showers, saunas and heavy workouts, so the bond can set. Keep your hands away from the front edge, and sleep on a clean, smooth pillowcase. Your scalp may feel slightly tight, and you may notice the piece more than anyone else does. Both effects fade within days.
If you see burning, strong itching, swelling or lasting redness, contact the hair bonding center at once. Adhesive can cause contact dermatitis in some people, so do not ignore a reaction.
Aftercare Plan and Refit Schedule at a Hair Bonding Center
Before you leave, the team at a hair bonding center should explain how to care for the piece and when to return. Most bonded pieces need a professional refit every three to six weeks. During a refit, the specialist cleans the scalp, replaces the bond, trims the hair and checks the edge.
At home, wash the piece two to three times a week with mild shampoo and lukewarm water, and let it dry fully. Avoid heavy oils near the edge, because they weaken adhesive. A base lasts from a few months to a year, depending on wear and type. Ask for these instructions in writing, so you do not rely on memory.
How Long a Hair Bonding Center Visit Takes
Timing varies, so ask when you book. A first visit with a consultation, colour matching and measuring takes longer than a later refit. If the piece is ready, the same visit may include the bonding session and the final cut. If not, you return for a second visit. Plan your day with some spare time, and avoid booking an important meeting right after. Refits usually take much less time, because the team already knows your design.
Questions to Ask Before You Leave
A short list keeps you in control. Ask who will handle your refits and how often you should return. Ask what the piece consists of, how long it lasts and what replacement involves. Find out what happens if the bond irritates your skin, and how to reach the team between visits.
Finally, ask for a written summary of the plan, including the dates of your next visits. A confident hair bonding center answers all of this plainly. For a wider checklist, read about what to look for in a patch center.
Making Your First Visit Easy
Nerves at the first appointment are normal, and a good team expects them. Prepare a few goals, bring photos, ask questions and take notes. You can also walk away and compare two centers before you decide. The best hair bonding results come from patience at the first visit, not from speed.
If you want to learn more about the methods, see the pages on bonding methods, hair weaving and custom hair systems, and read about how hair fixing suits a receding hairline. Browse the frequently asked questions for quick answers, and visit a hair bonding center only when you feel ready.